
The 5 Best Fall Crafts for Kids
By Babysits
•
5 min read
Time to cozy up your home with some fall decor! We’ve created four fall DIYs that are easy to put together and allow for lots of creativity, making them the perfect fall craft ideas for kids. Pick among fall crafts like: fairies, wall hangings, picture frames, and wreaths, or make them all! Keep reading to see and learn how to make these autumn DIYs!
Fall Fairy

Our first fall craft idea is this fall fairy! Decorate your pencil, hang them up in your room, or use them as a puppet. They are super cute and easy to make. All you need are some colorful fall leaves to create your own collection of fairies and butterflies.
What do you need?
- Small stick or pencil
- Fall leaves
- Googly eyes (optional)
- Glue
How to make it?
- First step is to explore nature and gather some beautiful leaves!
- Glue your favorite leaves onto a stick or a pencil to create a pair of whimsical wings.
- Use the stems of your leaves to create little antennas, and glue these on too.
- Googly eyes are optional, you can also draw or paint a face in order to give some character to your new fluttering friends!
Wall Hanging

This is the perfect fall decoration to cozy up your child’s bedroom. Hang it on the wall above the bed or desk to brighten up the space. You can even make a baby mobile for the youngest member of your family!
What will you need?
- One long stick
- String
- Fake leaves
How to make it?
- Finding a long stick is the first step! (for a baby mobile you will need two shorter sticks)
- Punch a small hole at the top of your fake leaves. To make your own fake leaves, trace a leaf onto a white paper and cut it out. Color the leaves any way you like, we recommend using watercolors!
- Attach each leaf to some string and tie it to the stick, it’s as easy as that!
- If you are making a mobile, follow the same steps and tie the two sticks together like a cross and voilà!
Acorn Picture Frame

Give your boring picture frame a fall makeover with some acorns! If you don’t have a picture frame, no problem, you can easily cut one out of cardboard. This is a great way to highlight your child’s school photo, a cute drawing, or a family portrait!
What will you need?
- Picture frame
- Acorns
- Glue
How to make it?
- Firstly, you will need to find some acorns!
- Once you’ve collected some acorns, find an old picture frame.
- Time to glue the acorns onto the frame. Normal school glue will work fine, just be patient for it to dry!
- When the glue has dried you are done! Now the hardest part is choosing what picture or drawing gets to be put in the frame!
Fall Wreath
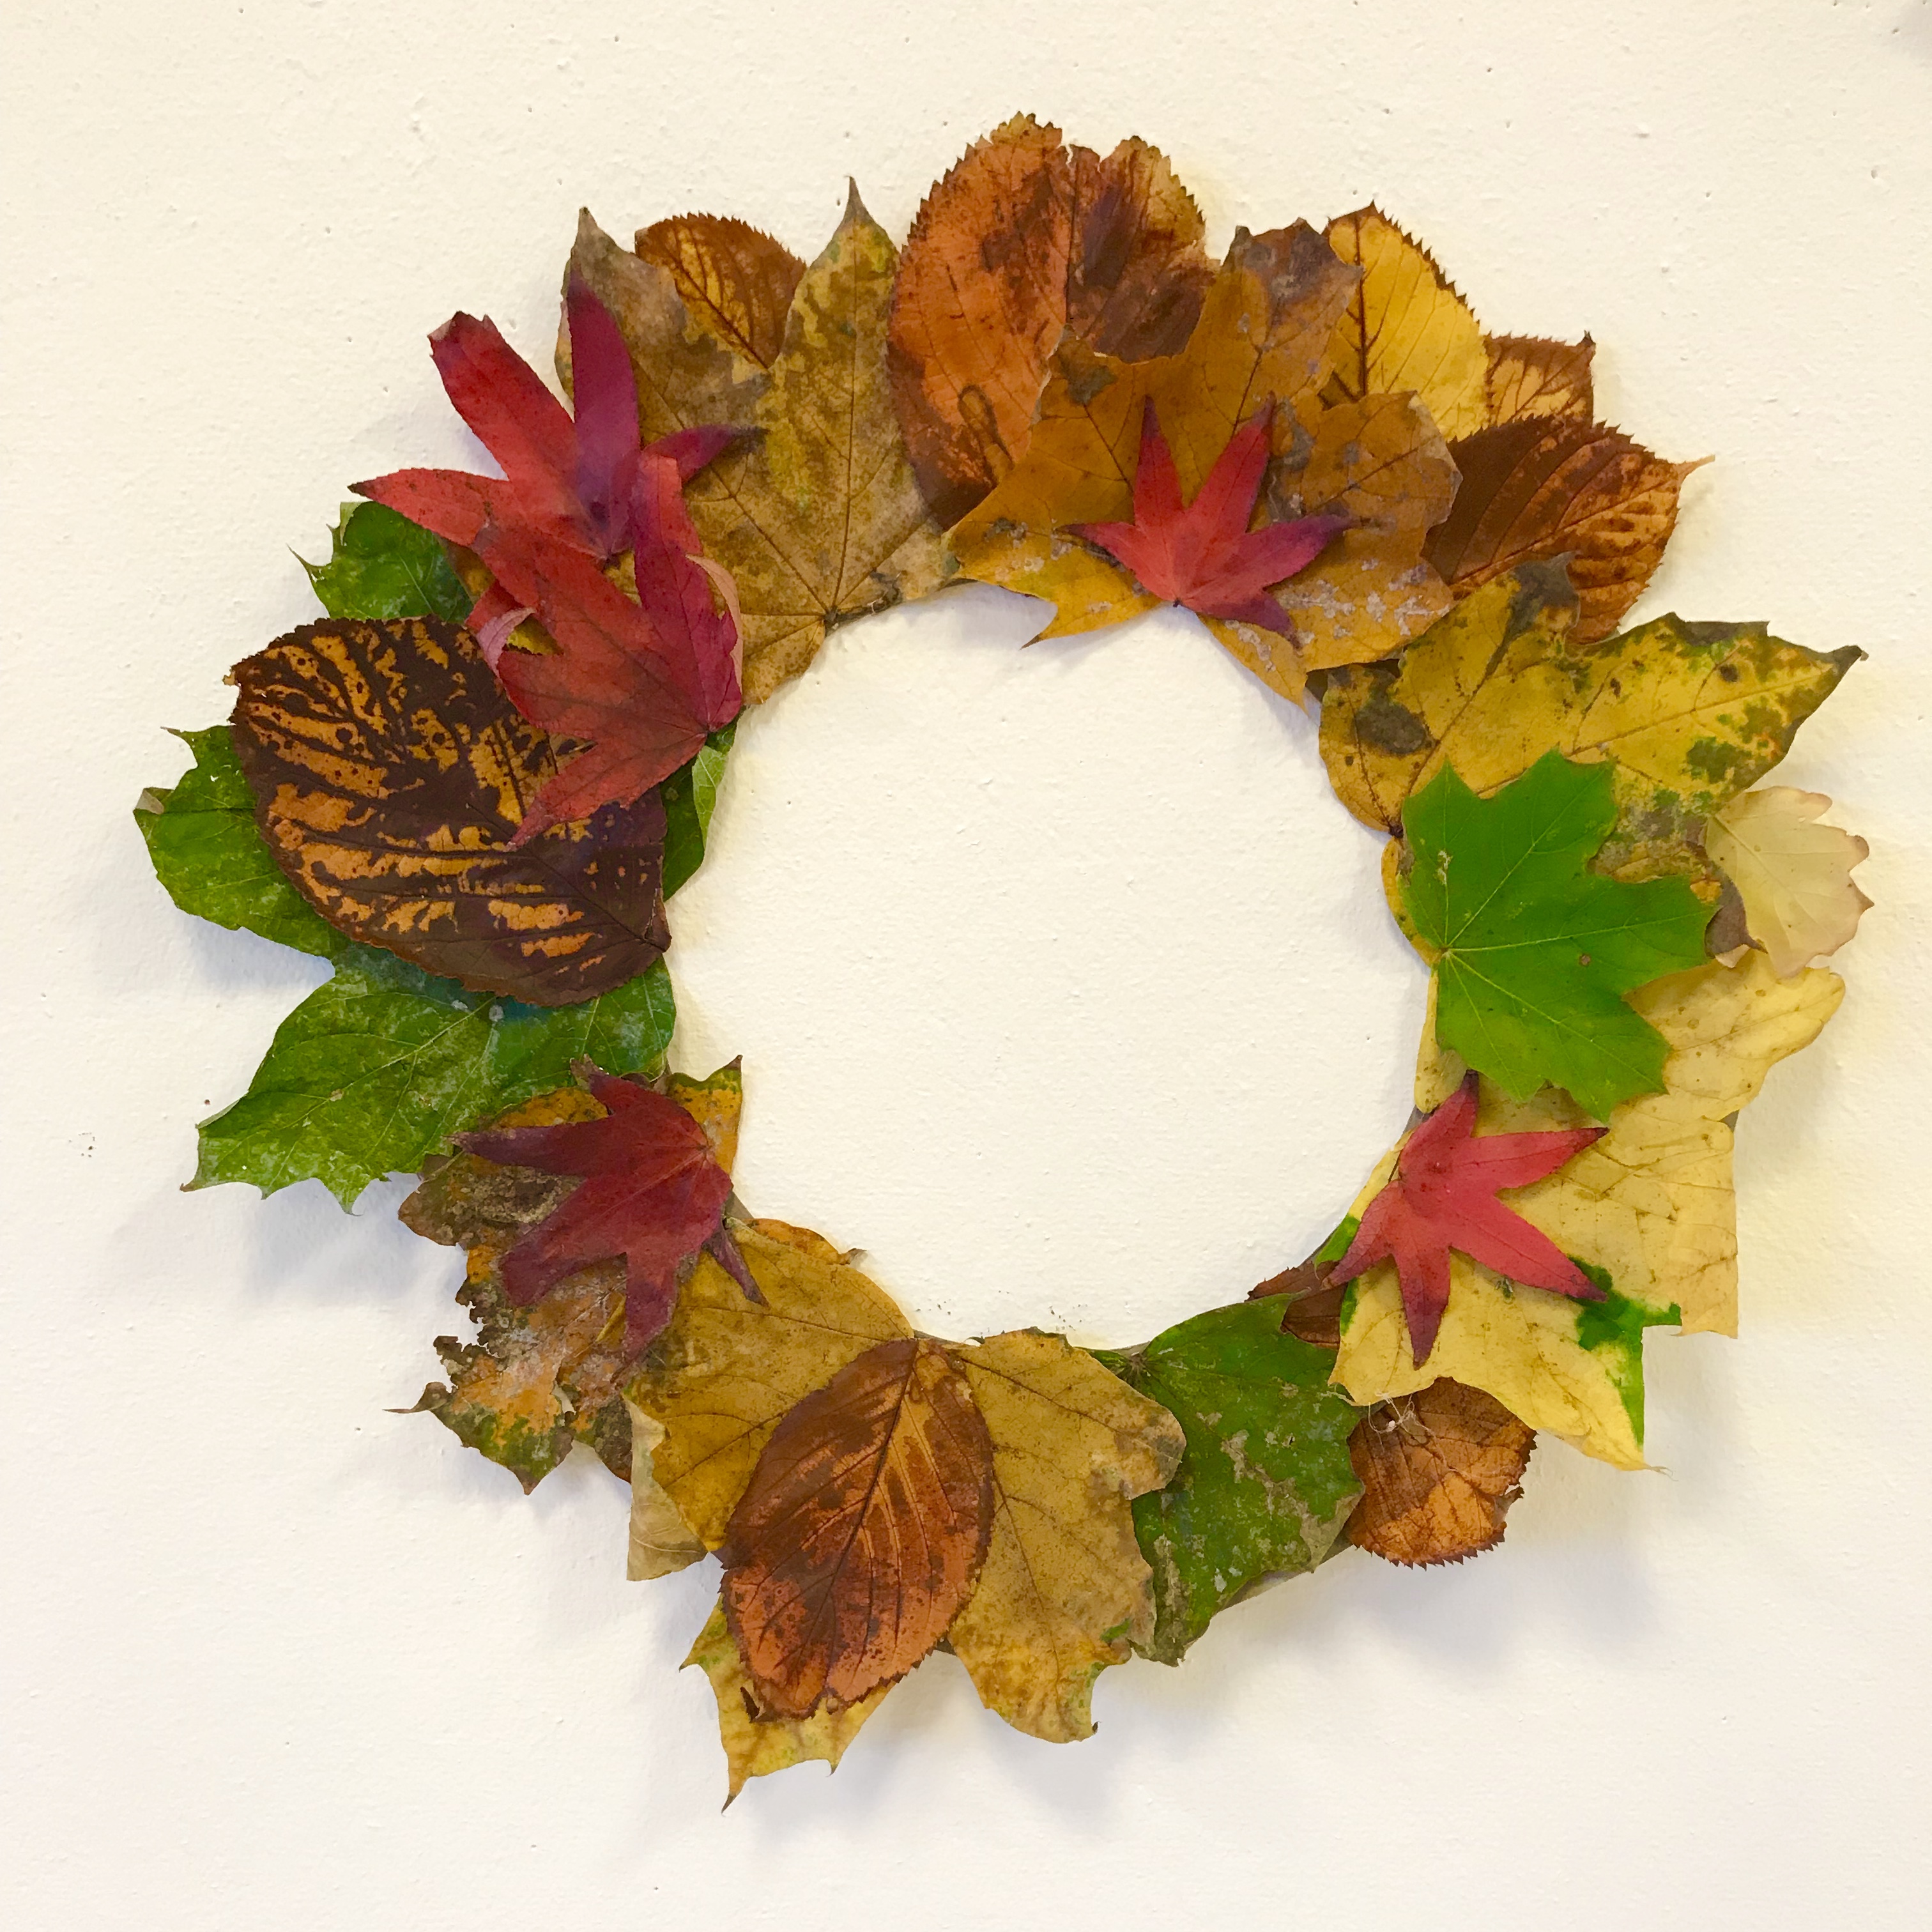
You can’t go wrong with a classic fall wreath! Hang this wreath up on the door to give your family a warm welcome! If you’re still looking for a Halloween costume, this DIY doubles as a great lion’s mane.
What will you need?
- Cardboard
- Glue
- Plenty of colorful fall leaves
How to make it?
- Start by cutting out a big circle onto some cardboard.
- Then draw a smaller circle and cut it out so you are left with a big donut shape.
- Time to go out and look for some colorful leaves, the more variety the better!
- Use the cardboard donut as a base to glue all of your fall leaves, and you’ll have a beautiful wreath in no time!
Hedgehog
Our last autumn DIY only requires five materials and it is really easy to make!

What will you need?
- Yarn
- Cardstock
- Pen
- Googly eyes
- Scissors
How to make it?
- Draw the hedgehog shape on cardstock and cut it out. Make a small cut on the top and bottom of the hedgehog's body.
- Cut a piece of yarn and slide it between your middle fingers. Then, wrap the yarn around 3 of your fingers and wind it around 100 times.
- Take the first piece of yarn that was between your fingers and tie it around the middle of the yarn to keep it together. Slide the yarn off your fingers.
- Slide the scissors into the loops and cut them, working your way around the circle until all the loops are cut. Trim the ends of the yarn, until it is round and even.
- Slip the two longer strands of yarn through the small cuts in the hedgehog's body. Tie the yarn together in the back, knotting it in place.
- Attach the googly eyes to the hedgehog's face and draw a little mouth.
Which fall DIY did you decide to make? Take a picture of your fall creations and share it with us on Instagram @babysits If you enjoyed these crafts, we’ve got plenty more… click here to check out our other kid-friendly craft ideas!


